
Account Registration & Login
Signing in is required to browse and search the Starrydata2 database. New users should first create an account via Signup, then complete two-factor authentication using the verification code sent to their registered email address.
1.1 Top page
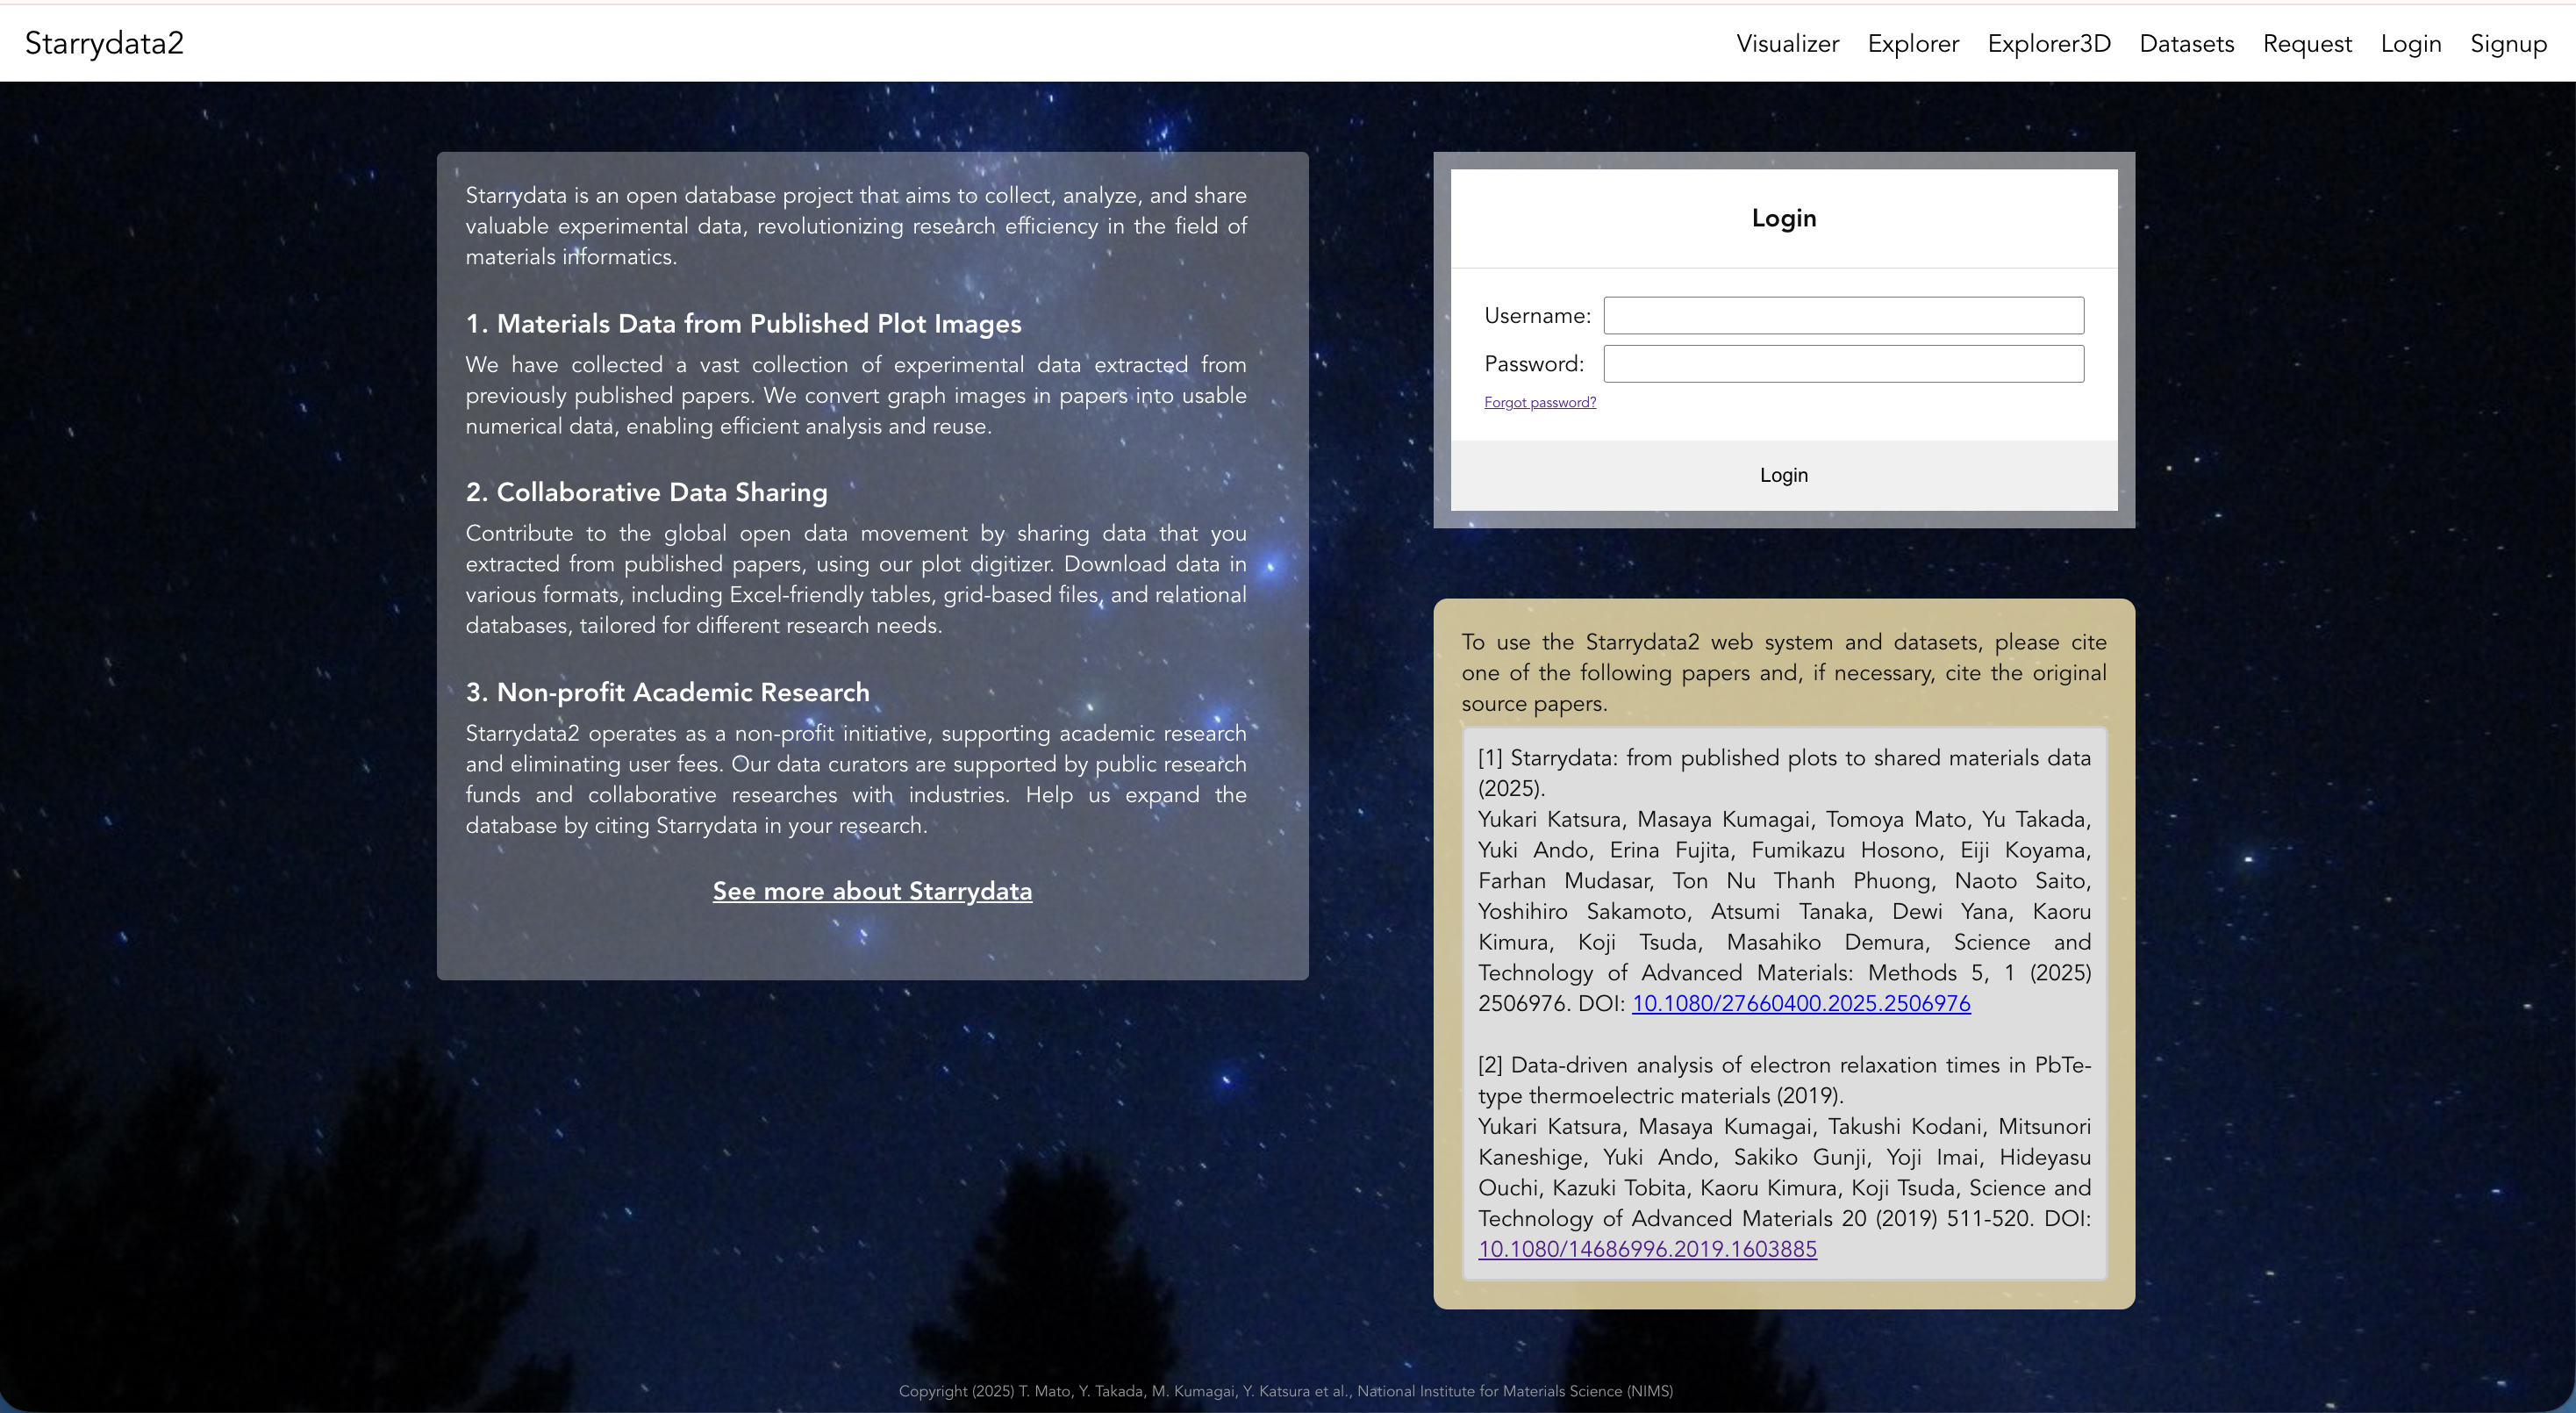
The global navigation at the top right includes Visualizer / Explorer / Explorer3D / Datasets / Request / Login / Signup. After logging in, Login/Signup are replaced by Databases / Library / Settings / Logout.
1.2 Signup (creating an account)
- Click Signup in the upper right.
- Enter your Username, Email, and Password in the registration form.
- Your Username will appear on any datasets you register or edit, so we recommend using a recognizable name such as your real name or researcher ID.
- Your Email address is required for account confirmation and for receiving a verification code every time you log in. Use an address you can reliably receive mail at.
- Click Sign up to receive a confirmation code at your registered email address.
- Enter the code to complete registration. You will be logged in immediately upon completion.
1.3 Login (two-factor authentication)
Login is a two-step process: ① Enter Username / Password → ② Enter the email verification code.
- Click Login in the upper right. A Login dialog will appear at the top of the page (Fig. 1-1, right). Enter your Username and Password and click Login.
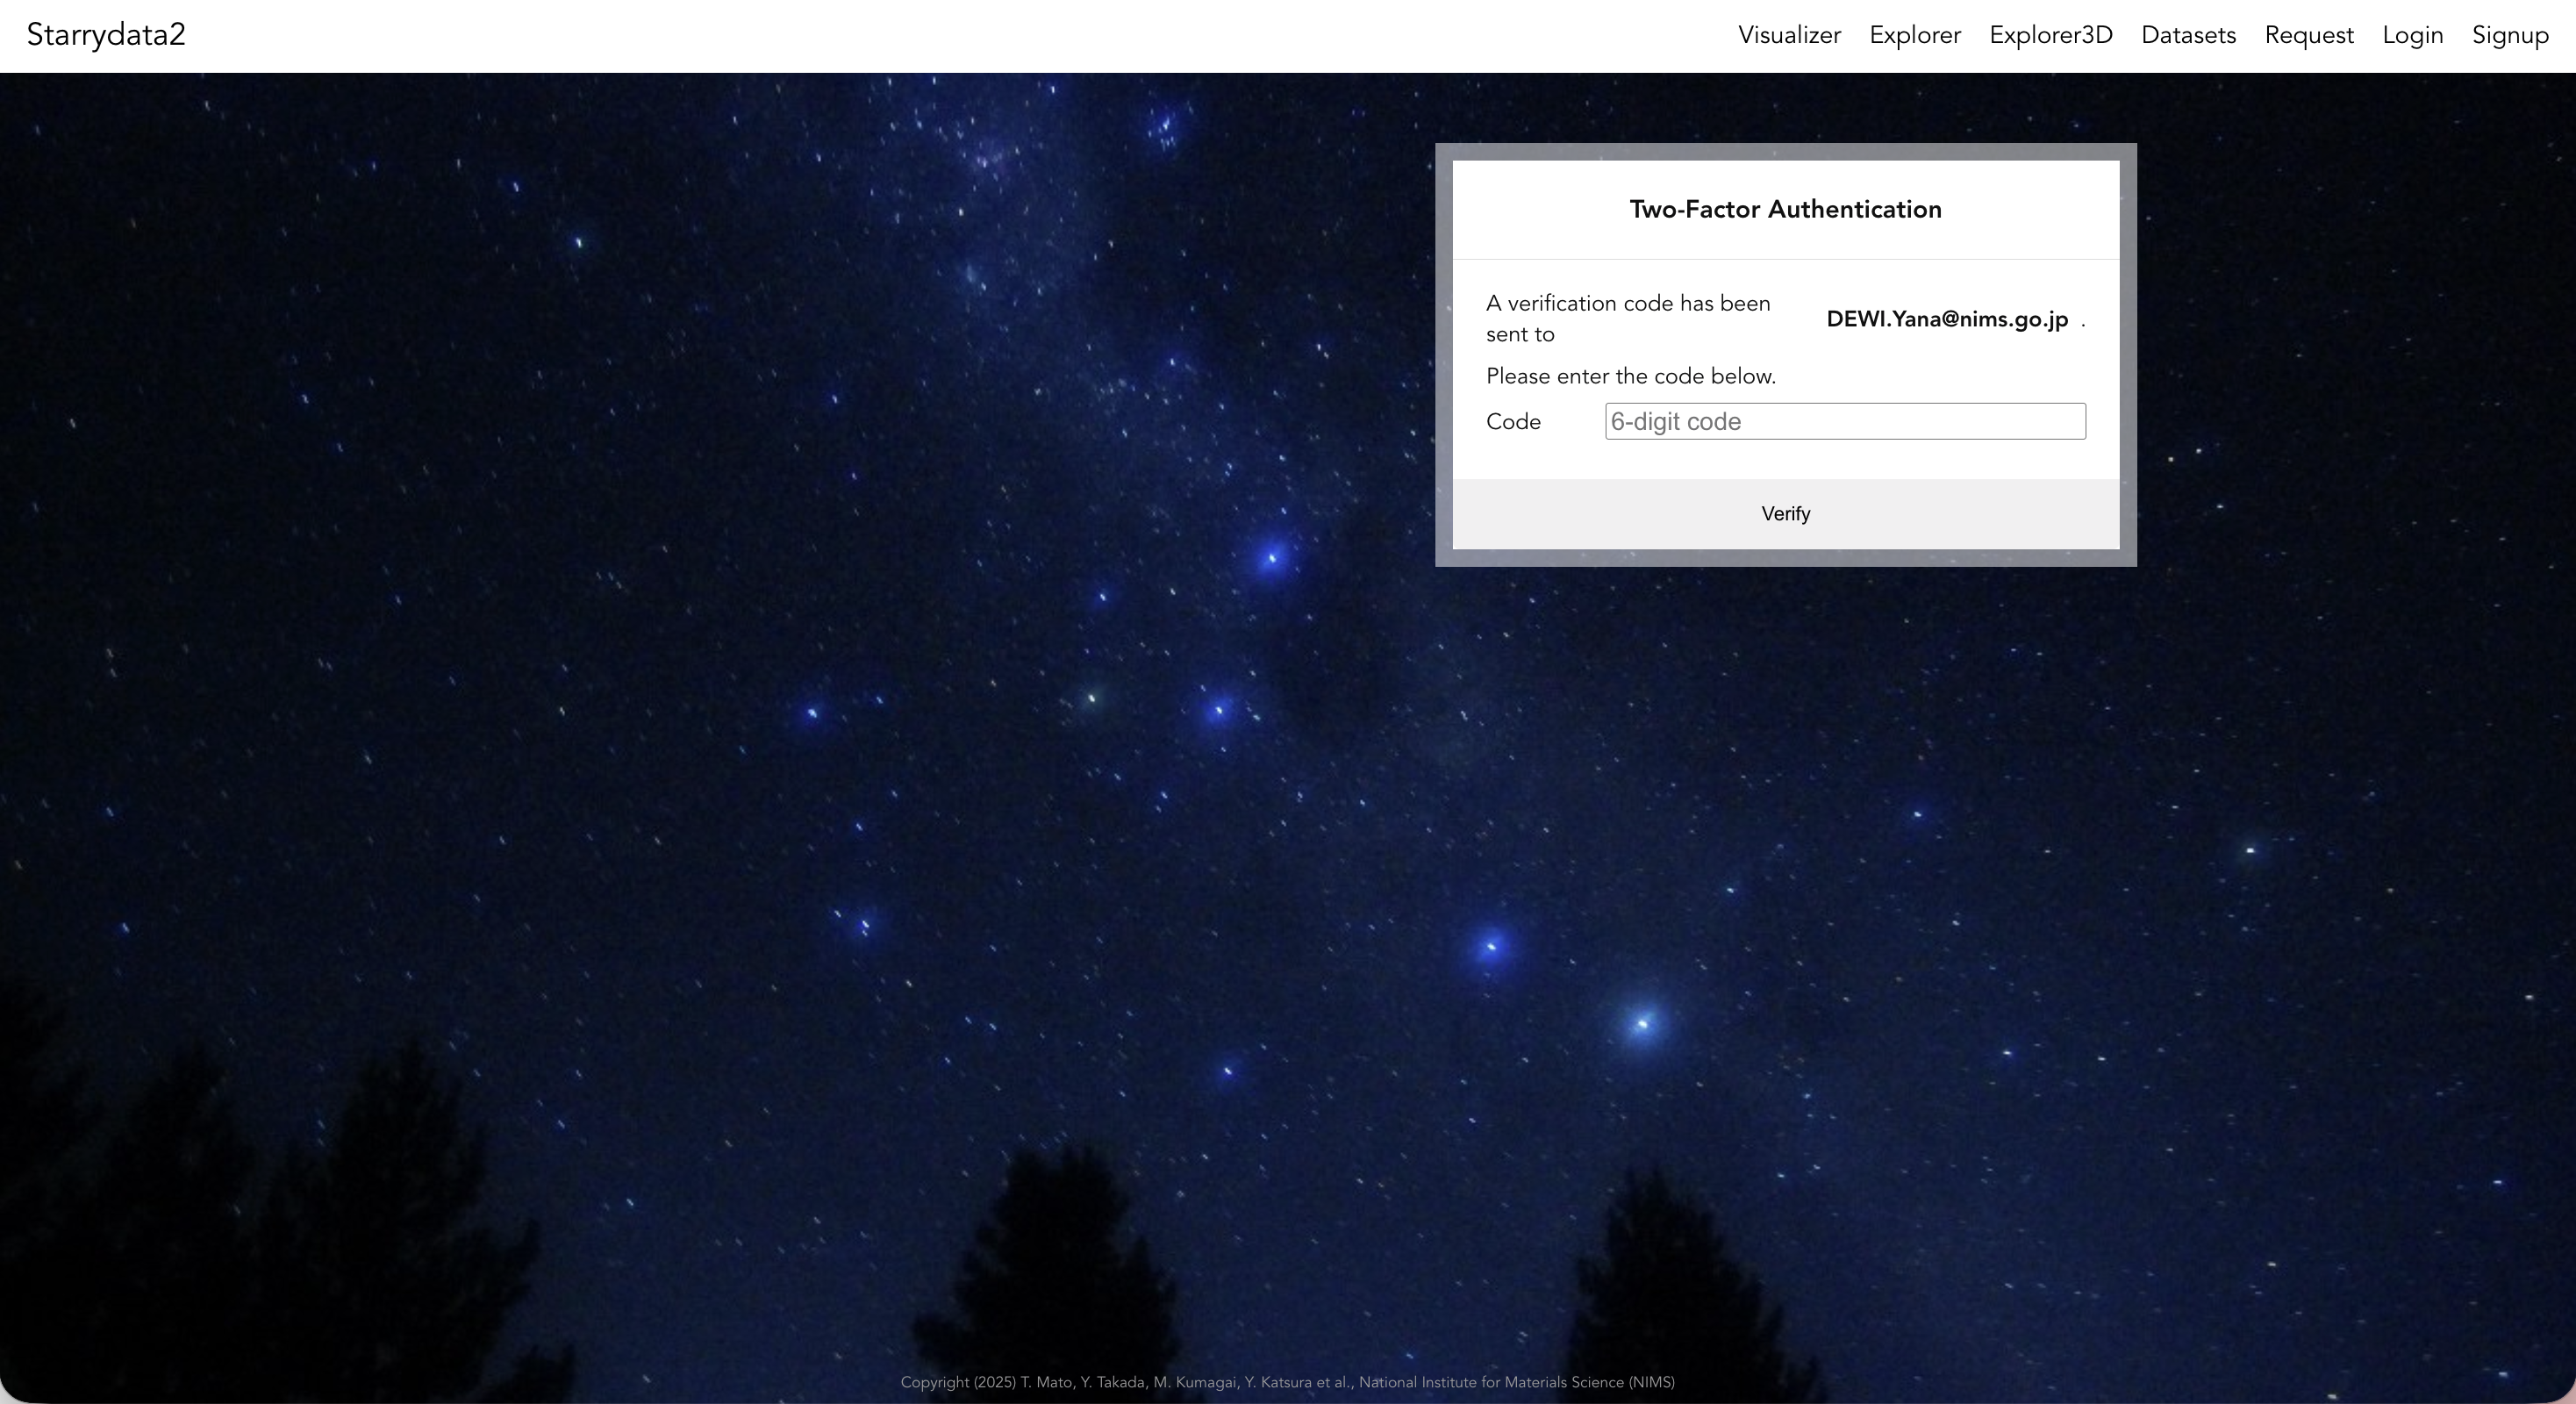
- A 6-digit verification code will be sent from Starrydata2 to your registered email address.
- On the Two-Factor Authentication screen, enter the 6-digit code you received and click Verify (Fig. 1-2).
- After successful authentication you will be taken to the database list page (→ Chapter 2), and Logout / Settings / Library / Databases will appear in the upper right.
- If you are working on a shared computer, always click Logout when you finish.
1.4 If you do not receive a verification code
- Check your spam / junk mail folder (emails from Starrydata2 / NIMS may be filtered).
- Verify that you are using the same email address you registered with and that there are no typos.
- Check whether your institution's mail server is blocking external emails.
- If the problem persists, contact the administrator via the Contact page, stating your Username.
1.5 Forgotten password
Resetting a password requires contacting a Starrydata2 administrator. Please use the form on the Contact page and include your Username and registered email address. If recovery is not possible, you may re-register with a new username; however, your previous curation history will remain tied to the old account.
1.6 Using My Lists
After logging in, a My Lists section appears in the left sidebar of each database's paper list page (→ Chapter 2). Here you can create personal paper lists and group target papers for management.
- Click + New list to create a new list (e.g.,
2026_BiTe_review). - Search for papers and click a list name to add papers to it.
- You can also paste DOIs to add papers in bulk (→ Chapter 3.2).
Next steps
- Just want to browse data → Chapter 2: Search & Browse
- Want to register data → Chapter 3: Data Registration
- Want to download data in bulk → Chapter 4: Download